0007: Button Release & Reorganizing the Code


We’ll be making small but significant changes to the code this time around. The last time we looked at buttons, (Post 0004) we built everything from within the main() function. Further, we used the onClicked signal to get our button to do something.
This time around, we’ll be building the button from within the test rig class so all we have to do in main() is create the test rig window and everything else will be done automatically.
Changes in main()
Take a look at the main function:
void main(string[] args)
{
	Main.init(args);
	TestRigWindow myTestRig = new TestRigWindow();

	// give control over to gtkD.
	Main.run();

} // main()
Previously, the window’s title was defined at the top of main() and passed in as a string variable rather than a string. This time, there’s no window title because—in the interests of going full-on OOP—it’s been moved inside the TestRigWindow class.
And you may also notice that we don’t even do a testRigWindow.showAll() here. It, too, has been moved inside the TestRigWindow class.
Changes in the TestRigWindow Class
And if all you looked at was the main() function, you might be led to believe this example didn’t do much. So, now let’s look at the TestRigWindow class:
class TestRigWindow : MainWindow
{
	string windowTitle = "Test Rig";
	string departingMessage = "Bye.";

	this(/* NO ARGS */)
	{
		// window
		super(windowTitle);
		addOnDestroy(delegate void(Widget w) { quitApp(); } );

		// a button that does something
		MyButton myButt = new MyButton(buttonCaption);
		add(myButt);

	} // this()


	void quitApp()
	{
		writeln(departingMessage);
		Main.quit();

	} // quitApp()

} // class myAppWindow
These changes are all about maximizing OOP-ness and to that end, anything that has to do with a particular object has been moved into the class definition for that object. That’s why the missing window title shows up here as class data along with a partingMessage variable. Keeping all this where it’s easily found is a good habit to get into.
Now the constructor. Previously, all we did in there was call the parent using the super() function and then we hooked up the window’s close button. This time around, there are three major changes to the constructor:
- there are no arguments because we’ve stored the window title as class data,
- we’ve gone back to a syntax for the
addOnDestroy()function that we used in earlier examples, and - the button is added here instead of in
main().
So now all operations appear in the most appropriate places:
main()encompasses all top-level calls, no more, no less,- the
TestRigWindowclass contains all data and functions associated with it, no more, no less, and - (when we get to it) it’s same for the
MyButtonclass.
Different Signal for the Window’s Close Button
We saw this approach to hooking up the close button back in the first blog entry and I talked about it a bit in blog entry #0001. It’s used here simply to keep us (me, mostly) from falling into a rut and as a reminder of how using it means defining the callback in a slightly different way. (Hint: look at the quitApp() definition with an eye toward counting arguments.)
Initializing the Button
And of course, the button is created here. Let’s move on.
The MyButton Class
Here we go:
class MyButton : Button
{
	string buttonText = "My Butt";
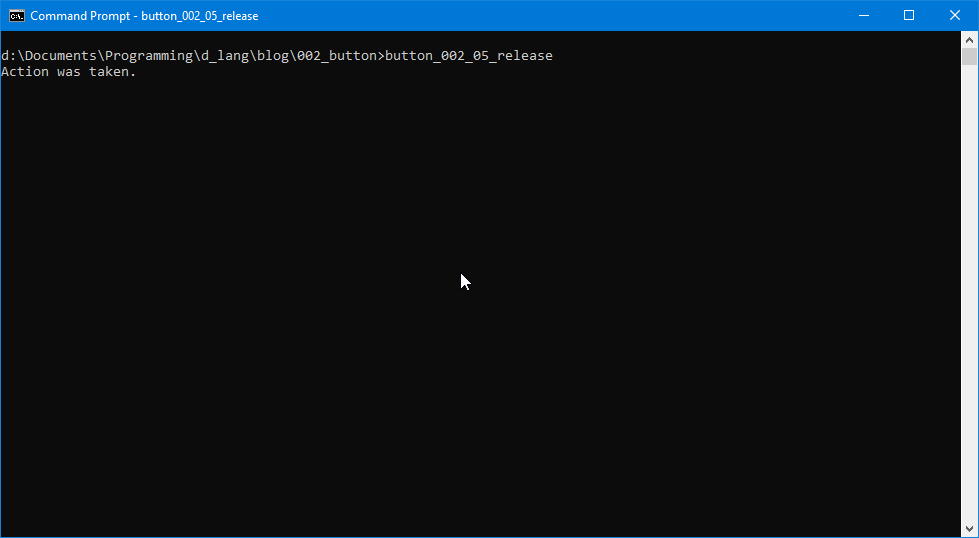
	string actionMessage = "Action was taken.";

	this()
	{
		super(buttonText);
		addOnButtonRelease(&takeAction);

	} // this()


	bool takeAction(Event event, Widget widget)
	{
		writeln(actionMessage);

		return(false);

	} // takeAction()

} // class MyButton
As mentioned above, there’s the data right at the top. And looking at the constructor, there’s a different signal being hooked up here, onButtonRelease. It doesn’t seem like that big a change until you look at the callback definition.
The callback now has two arguments, an event and a widget. Remember that widget is the base class for everything from windows to containers to buttons, so what we’re really saying here is: whatever widget-derived entity we happen to be pressing into service.
The event argument gives us access to a bunch of interesting stuff, but since the word count is already getting up there, we’ll talk about that in a later post. For now, just know there’s more than one signal we can handle with a callback and if we need access to the raw event that triggers the callback, that’ll be possible, too.
Conclusion
Here we are at the end of another post. We covered a few interesting things here like reorganizing the code in a full-blown OOP style, hooking up a new signal, and reorganizing the code. Now I realize that points one and three are the same, but they’re so important, I mentioned them twice (paraphrasing a joke from Red Dwarf).
And that’s all for now. Be with them widgets and happy D-coding.
Comments? Questions? Observations?
Did we miss a tidbit of information that would make this post even more informative? Let's talk about it in the comments.
- come on over to the D Language Forum and look for one of the gtkDcoding announcement posts,
- drop by the GtkD Forum,
- follow the link below to email me, or
- go to the gtkDcoding Facebook page.
You can also subscribe via RSS so you won't miss anything. Thank you very much for dropping by.
© Copyright 2025 Ron Tarrant
